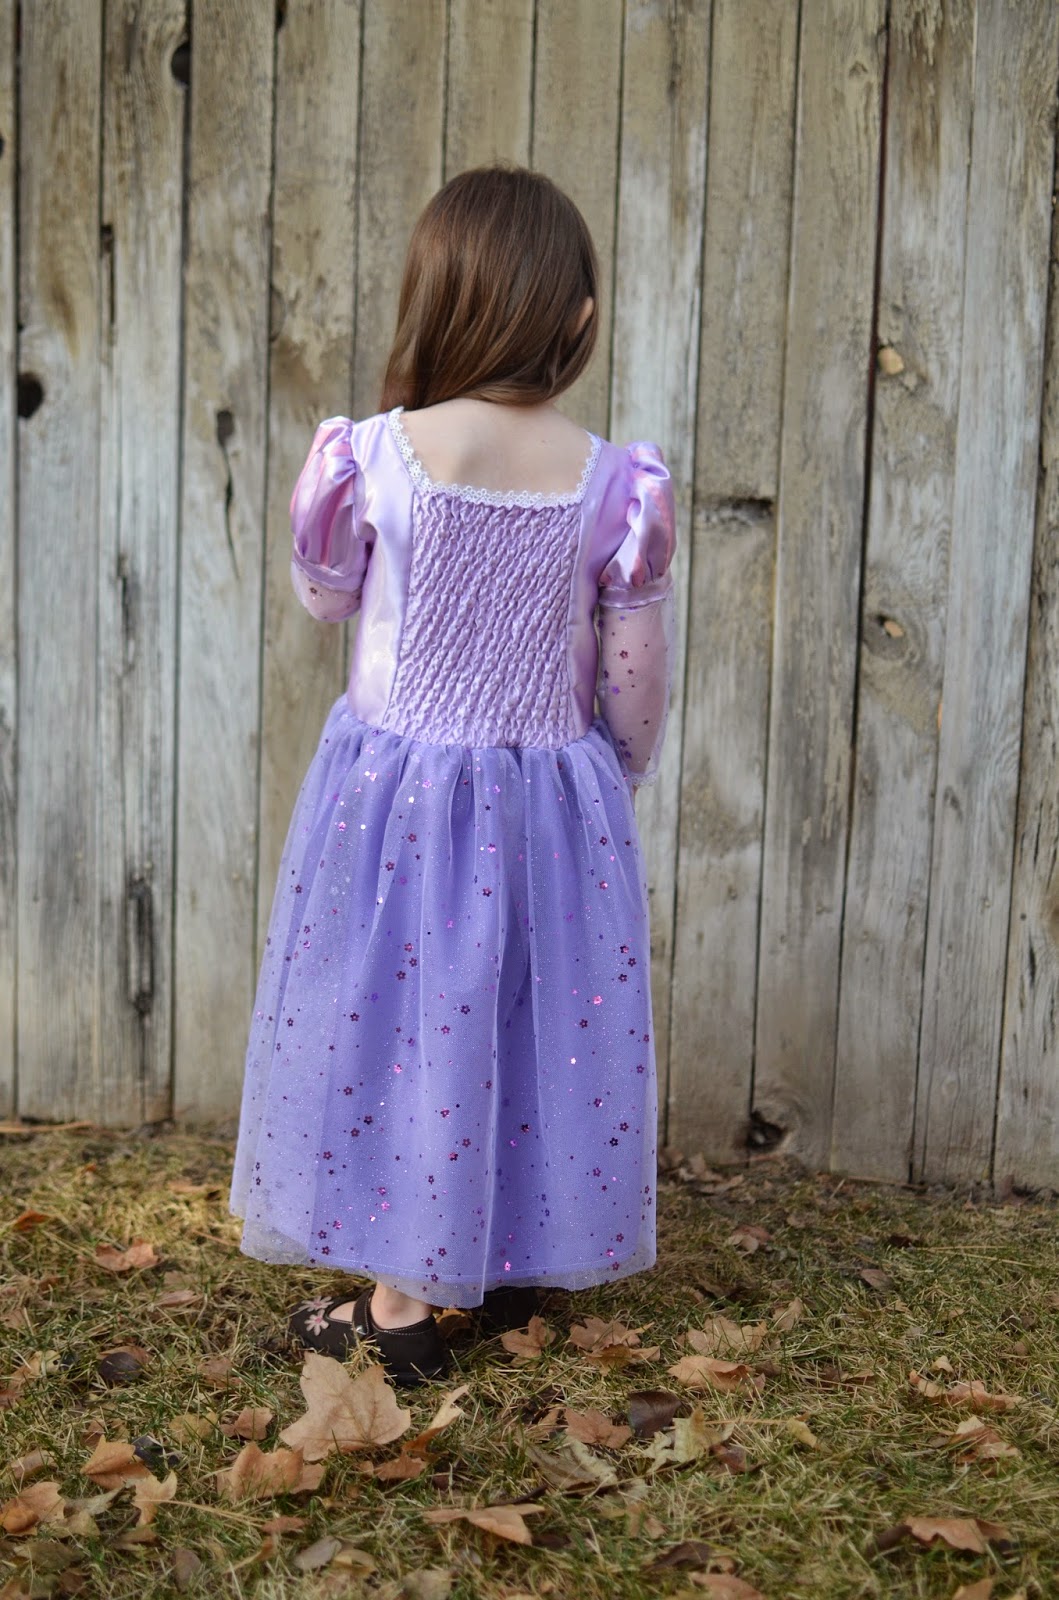
Don't you just love circle skirts? So cute and simple to make! My little Luz LOVES to spin! So, of course I had to make one for her.
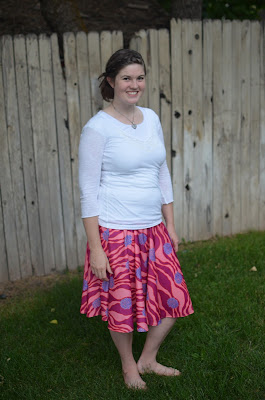
Then, I saw this fabric at a thrift store for $1, and knew I had to made a circle skirt for me too! I love the drape of this skirt! So flattering! Plus, I love to spin in it too! =)
You can use this tutorial for you or your little mini-me, or both!
Materials: About 60"x60" of fabric for an adult. I used a jersey knit. Luz's was cotton. You can see how my skirt drapes a little better since the fabric is not as stiff. Also, knit fabric usually comes 60" wide from the fabric store, so it will be wide enough for the full circle without having to sew two pieces of fabric together. Alternatively, you could buy some cute cotton sheets from a thrift store -- that would definitely be big enough for your circle skirt!
About 24" of 1" wide elastic
Time: One long nap and one evening
First measure around the biggest part of your hips. Then, I measured from my hips to my knees to get my desired length. If you want your's longer or shorter, feel free to adapt your length measurement.
Now for the math. Take your hip measurement plus 1 inch. My hips measured 39" + 1.5" = 40.5"
Remember the circumference of a circle (C) = 2*PI*Radius. Your hip measurement is the circumference. We are looking for the Radius (R) of that circle. R = C/2/PI
So, my R = 40.5/2/3.14 = 6.45" which I rounded up to 6.5" for ease in measuring. Still with me???
Now fold your square piece of fabric in quarters, and draw your quarter circle from the folded corner of your square (you want to make sure your inside circle will end up in the middle of the fabric, not the edge!). I pinned mine right below my pen marks so when I cut, the fabric wouldn't shift around.
Now draw another circle by taking your length + 1 inch for a hem and seam allowance (my length was 21" + 1" = 22") and adding that below your smaller circle. You can see I put my ruler on the inside circle line and drew a little mark at 22" to make my larger circle.
I also pinned at the bottom. Now, cut along your two circle and unfold your fabric! You should now have a donut of fabric (which I neglected to take a picture of. =P Sorry!).
Now for the waistband. We need the waistband to be 2.5" wide (to fit the 1" elastic). The length is your hip measurement + 1.5" + 0.5" seam allowance. So mine waistband was 40.5" + 0.5" = 41" total length x 2.5" wide.
Since I bought my fabric pre-cut, I only had enough fabric for the circle, with little triangle things leftover. So, to make my waistband, I cut out a 2.5" strip from the triangles and pieced three of them together to make a long strip that was 41" long. If you have enough fabric, you can just cut one strip, and save yourself a little bit of time! =)
Sew the ends together to made on giant tube, and then fold in half and iron flat.
I then sewed the folded edge shut with a scant 1/4" seam allowance to make it easier to sew onto my skirt.
Don't forget to leave a 2" gap so you can put elastic in!
Now to add the waist band to the skirt. Start by marking the skirt in eighths (like a pie). Below you can see the eight pins I put in to mark my eighths. Do the same with the waistband.
Then line up the pins from the skirt and the band and pin together. This will make sure the band gets put on evenly all the way around the skirt.
You can see I ended up pinning more that just the eighths. Pins are my best friends! =)
Next sew together with a 1/4" seam allowance! I started at the end of the 2" gap in my waistband, so I could end at the other side of the opening, and not sew it shut!
Now cut your elastic the length of your hip measurement minus an inch or so. Every elastic has a different stretch, so I like to try it on before I sew my elastic together and close up the skirt. Thread your elastic into your casing, sew the elastic together, and sew the gap closed! If you used cotton, you may want to zig-zag stitch in the seam allowance so it doesn't fray. If you used knit, you are good to go!
Now hem the skirt and you are done!!!!
Ha ha. Don't you just love when tutorials say that; "Just hem and you are done!" They act like hemming is the easiest thing in the world! Not that you still have hours left to sew. No worries:
Here is a great tutorial that I use when hemming circle skirts! Good luck! =)
Now go spin and have fun in your darling new skirt!


