Saturday, November 22, 2014

Monster Birthday Party!

Lucy decided that she wanted a monster party this year! We started off by making some monster invitations (kudos to my Mom for always making incredible party invitations -- I now feel like a party is not complete without them!).

Inspired by this pin

About 1 minute before the party started, I realized I had zero decorations, so I quickly cut out monster eyes and teeth for our door.  I think it turned out pretty cute!


To start off the party, we decorated monster party hats. I hot glued the eyes on the night before. No one likes it when their googly eyes fall off!


We also gave out little monster bracelets. Most of the kids had never seen a slap bracelet before, and they got a huge kick out of the monster grabbing onto their arm. =) I scored the bracelets at the dollar store for half off after Halloween, and then added the googly eyes. We also lucked out with some awesome monster candy on clearance at the dollar store too. There are advantages to throwing a monster party the week after Halloween.
 

After all the guest had arrived and decorated a hat, we went Monster School! We taught the kids how to ROAR and how to hide and then jump out to scare someone. We had a tunnel obstacle course, and then we all RAN as fast as monsters! We didn't get many pictures. It turns out that with 10 kids, Logan and I had our hands full! =)


Next was the pinata! Lucy found about pinatas about 6 months ago, and has been talking about having one ever since. Logan (the best husband ever!) made the pinata and added the yellow "fur." Lucy and I decorated it. It was only three layers of paper mache, so it was easy enough for 4 year olds to break it. Everyone got three turns to hit it before it broke. It was perfect.


Then presents and decorating monster cupcakes. One kid told me, "This is the best party of my entire life!" I think it was a success!


Wednesday, July 30, 2014

Trying out Embroidery

A few months ago I stumbled upon this darling embroidery pattern by September House. Although I have only ever dabbled in embroidery, I knew I had to make this for my Aunt, who is a librarian! I love the bright colors, and isn't the braided rug SO cute?


So I bought the pattern and tried it out! The pattern wasn't super detailed, and just said to use "different fill stitches" for the stack of books and the headband. So here are my tips: I used a simple satin stitch for the pink book, a Van Dyke stitch for the blue book, and a woven stitch for the green book. For the headband I used the herringbone stitch. I also used this tutorial to help with the chain stitch. So go try it out! Buy the pattern and stitch it up for your favorite librarian! =)


After I made the librarian embroidery, I got on an embroidery kick! I found another adorable pattern by Polka & Bloom that I needed to make for my sister! I love the whimsical sketch of the Eiffel Tower with the heart. The entire thing is stitched with a back-stitch, so it's a perfect way to practice!


Tune in next time for more of my embroidery kick! =)

Sunday, April 27, 2014

T-rex Dinosaur Softie Tutorial and Pattern!


Remember how I'm way too nice and always sew a matching something-something for the quilts I make? (See the Robot, owl, bunny, doll quilt elephant, and 
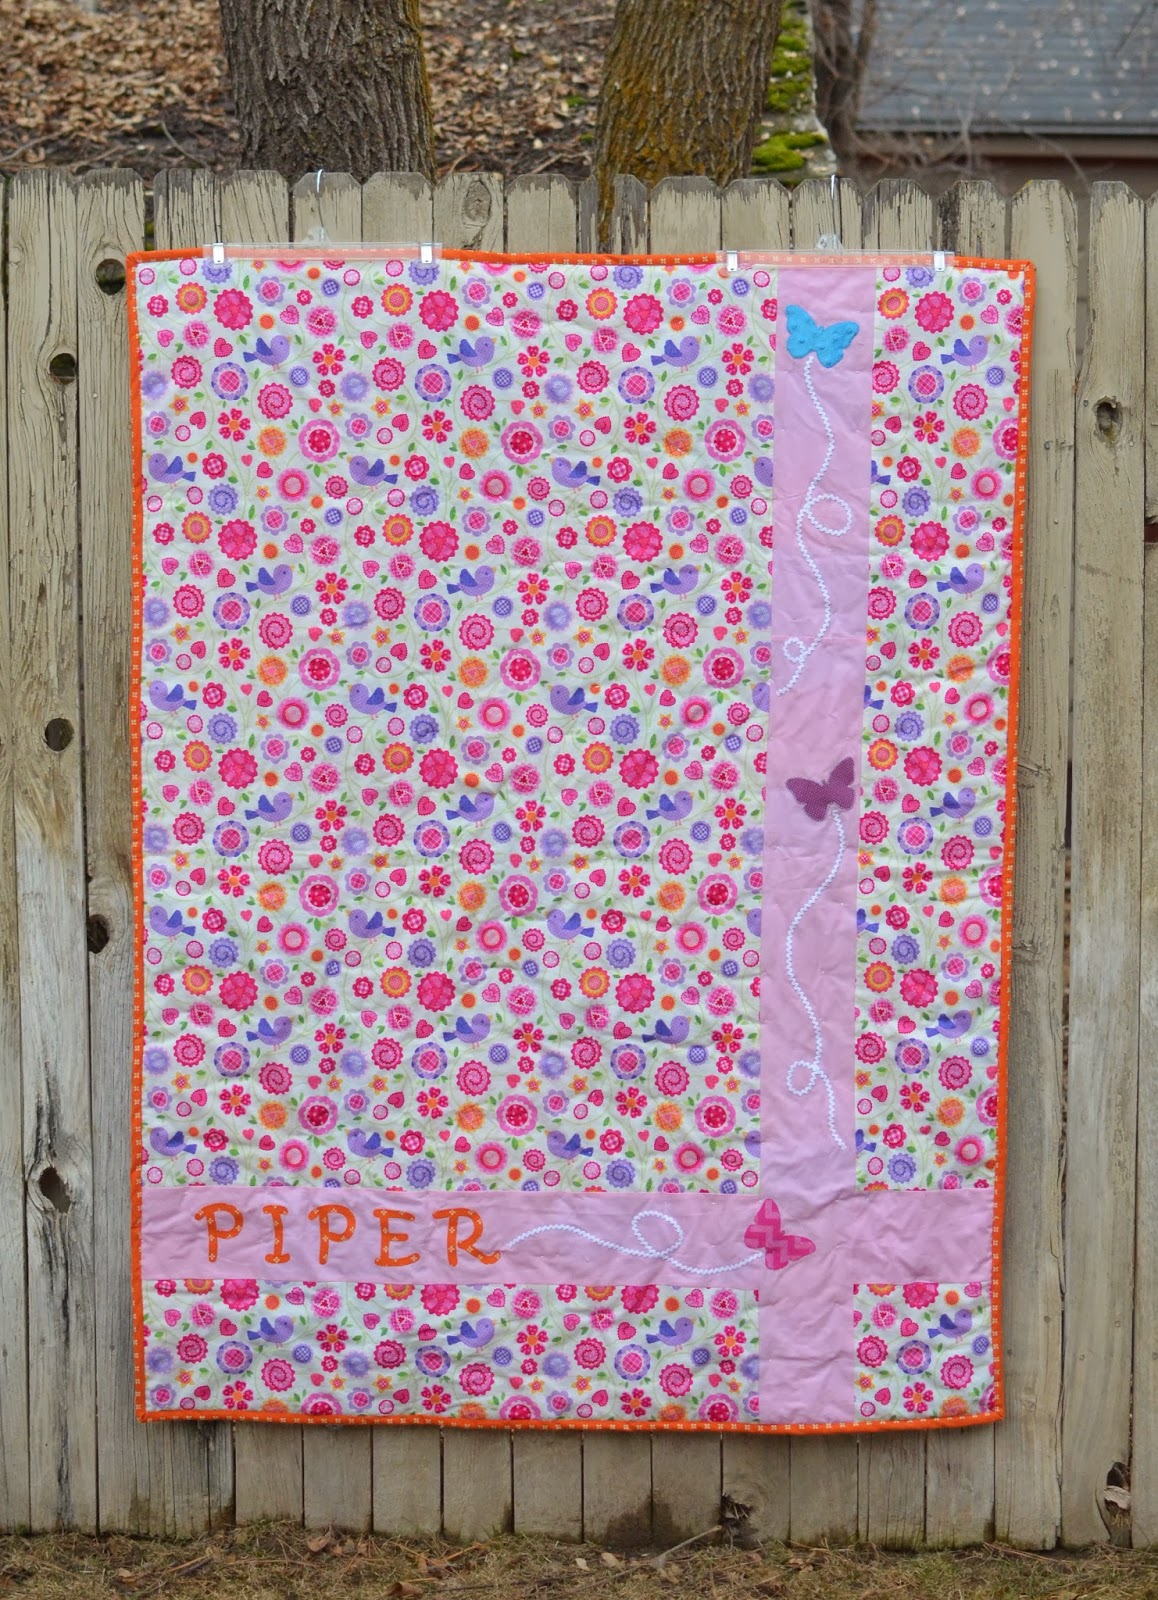
butterfly for a refresher! =D) Well, when I made the dinosaur quilt for my new nephew Issac, I knew that I would get to make a cute little dino softie to match! 

After searching the internet extensively, I couldn't find a single pattern/tutorial of a dino that I like well enough to use. So I decided to make my own! And since I had to make up a pattern for me to use, I decided to share it with all of you!

Materials: About 1/4 yard of printed fabric
                  8"x8" scrap of minky (for the belly and bottoms of the feet)
                  18" coordinating 1/2" rick rack
                  Stuffing

Time:        Two evenings, one long nap

***Seam allowance is 1/4" unless noted otherwise.***

Print out pattern with page margins set to zero.


Cut out all of the pattern pieces. I raw edge appliqued the little red polka-dots to the body to make it match the quilt a little bit better -- they are definitely optional!


2. Pin two of the leg pieces right sides together and sew along both long edges to make a tube. Then  pin the round foot piece to the bottom tube of the leg and carefully sew around the circle. Repeat with other leg. Honestly this is the very hardest part -- the rest is smooth sailing! =)


3. Pin two of the arm pieces right sides together and sew all around the long sides and the bottom. Flip both the arms and the legs right side out and stuff. I used a few stuffing pellet bead thingys in the bottom of the hands and feet to add weight so they would hang down better, but this is totally optional.


4. Sew the inside "V" of the body closed with right sides together. This creates a rounder shape for the body.

5. Pin the belly to the sides/tail of the dino and sew together. 


6. Sew the side of the head to the long strip.


7. Pin and sew the other side of the head to the long strip. Cut off any extra length of the strip.


8. Pin each leg to the minky belly so the edge of the leg is about 1" from the side seam. Sorry this is hard to see -- the legs are hidden inside!


9. Pin the bottom circle to the body/belly of the dino (sandwiching the legs) and pin the tail together. Sew about 1" of the tail that is closest to the bottom to complete the circle opening of the body before attaching the bottom. Does that make sense? Leave the rest of the tail open for now. Sew the bottom circle to the body.


10. Pin each arm to the body (about 1/4" from the edge of the minky belly). Pin the front of the head to the belly right sandwiching the arms in place. Sew the front of the head to the belly, leaving the sides open.


11. Sew a piece of rick-rack along the right side of the fabric down the center of the rick-rack a scant 1/4" away from the edge of the fabric (that way when you sew the seam together with a 1/4" seam these stitches won't be visible).


This is how it will look on the outside!
12. Pin and sew the entire tail together leaving a 2" gap on the bottom of the tail so you have room to flip right side out, and stuff! The inside will now look like this:


13. With right sides together (completely inside out) carefully pin and sew the back of the head onto the back.


14. Flip right side out and stuff. Like the arms and legs, I also put a handful of the stuffing beads in the bottom to help the dino sit upright, but that is optional. Hand sew the gap in the tail closed.


15. You are done! Enjoy your cute and huggable little t-rex!


Make It and Love It

Thursday, April 3, 2014

Dinosaur quilt!


My sister Cali came and visited during the last week of February. We went shopping together to choose the fabric for a quilt for her baby Issac -- and about one month later --  I present you with the finished quilt!  It's a new record! 

I love, love, love how it turned out! I think it's my favorite quilt so far.


The big dino squares are all hand embroidered, and then hand quilted so a) I wouldn't have an awkward tie in the middle of the dinosaur, and b) to give the dinosaur a little more dimension.


Obviously I really love my sister (and baby Isaac)! =)

Dino back!

And, yes, I made yet another matching stuffed animal. Stay tuned for the pattern/tutorial for this huggable t-rex!

Thursday, February 20, 2014

Piper's Butterfly Quilt and Pillow

 I'm so excited to finally show off Piper's quilt!  I love how bright and fun it is.  Perfect for my cute five year old niece!


Close up of the butterfly

The quilt I made is 45" wide -- the back fabric was 42" wide. Sigh. So, I bought some pink fabric to make it work, and went a little crazy with the details. I love how it turned out!

 
Detail of the back
I have made quilt a few quilts with matching stuffed animals or doll quilts (see the matching Robot, owl, bunny, doll quilt, and elephant I've made), and I'm afraid that now it's just expected of me! ;) For Piper's softie, I was inspired by these adorable butterfly pillows.

The front and back of the matching pillow!

Now I'm off to start on a quilt for baby IKE!


Monday, January 20, 2014

Pirate Party!

Okay, okay.  I'm a little slow.  My dear Luz turned 3 in November, and I'm just now posting about it.  Oh, January.  You are so boring that I finally have time to post again!

Let me just say how happy I was that my little girl who was Cinderella for Halloween, wanted to have a pirate party for her birthday!  Yay for little girls who know they can be whatever they want to be! =)


After searching for a cute, not horribly expensive costume, and trying to avoid the awful, awful options they have for girls, I just decided to make her costume.


I modified this pattern to make a reversible red/black pirate vest.
I used this tutorial for the tiered skirt.
I used this tutorial for the red/black striped leggings.

For the sash I just cut a 4"x40" strip -- since it is a knit fabric and won't fray, I didn't worry about hemming it. Super easy. In fact, it was so easy, I made 4 more as party favors for the other kids.

Here are the invites I made.  I printed them out, burned the edges, and rolled them up to look like  pirate maps!


The party itself was a blast! First we had a treasure hunt, which I took absolutely no pictures of. Sigh.


Then we played a "walk the plank" game I found on this website. We had one kid walk the plank, while the other kids pretended to be tickle sharks, and would tickle them as they ran to the safety of the other room. The kids LOVED it. 

Luz walking the plank!

Then we played pin the eye-patch on the pirate. Luz is either super skilled at this game, or could see through the blindfold. =)


Then we all decorated cupcakes.  I got this pirate cupcake kit at Zurchers that had the pirate flags and cupcake wrappers. Super fun.  We used mini reese's peanut butter cups as pirate ships and sour patch kids as the little captain.


Our pirate Luz wanted a castle cake! =) 

Attack the castle!


Happy birthday, my sweet little pirate!